I have seen some impressive pantries over the years, but I’ve also seen some pathetic ones. There are a few staples that are handy in the kitchen and help keep your food tasting great… and tasting different. Here are my top 10 pantry necessities.
The rules for pantry items are:
Refrigeration is not necessary
Baking goods don’t count
Dried herbs and spices aren’t counted because there’s just too many, other than #1.
1. Salt and Pepper
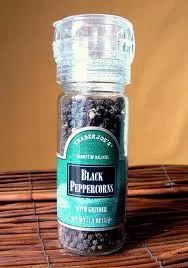 Not counted as “spices” because they go in EVERYTHING! I don’t mean table salt and pre ground pepper. You need Kosher or sea salt, and whole peppercorns that you grind from a pepper grinder. I like kosher salt as my everyday salt because of its clean taste, uniformity in size and inexpensive price tag. For pepper, if you have a Trader Joes around you, buy the plastic pepper grinder that already has pepper in it. It costs $2 and grinds beautifully.
2. Fats
Having multiple varieties is nice because you can change up flavor w/o changing technique. Olive, grapeseed, canola, peanut, sunflower, coconut, whatever. Buy some that are virgin, and some that are regular. Also try and expand your oil lexicon past vegetable oil, and don’t forget butter and lard.
4. Mustard Specifically, Dijon. This tangy umami blast is an emulsifying agent for vinaigrettes as well as a flavor additive and…obviously, a spread. Yellow mustard has its place as well, but I eat a lot of salad, so Dijon gets the nod.
3. Vinegar
Not only are there a ton of flavors to change things up, but they do wonderful things for more than just salads. Although…yes, I primarily use them for salads. Red wine, sherry, rice, white distilled, apple cider, balsamic, oh my!
5. Sambal Olek or Hot Sauce
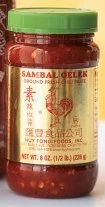 This Vietnamese chile paste is found everywhere and is great for adding spice under any application. You can mix it with mayo, stir it in a sauce, fry it in a pan or top things with it like you would hot sauce.
6. Mayonnaise
Don’t even get me started about one of my favorite food stuffs on the planet. Not only does it add creamy moisture to everything, but you can cook with it as well (after all, it is 90% oil). Spread some on your hamburger bun before toasting it next time; watch the magic and enjoy. Stick with Best Foods/Hellman’s or Kraft.
7. Fermented Liquids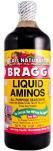
(Soy Sauce, Worcestershire, Bragg’s Liquid Aminos and Thai fish sauce.) These are four umami blasts that make most dishes better. The salty savory punch of these products lends an earthy touch that enrichens many dishes. Make sure they are the naturally brewed varieties.
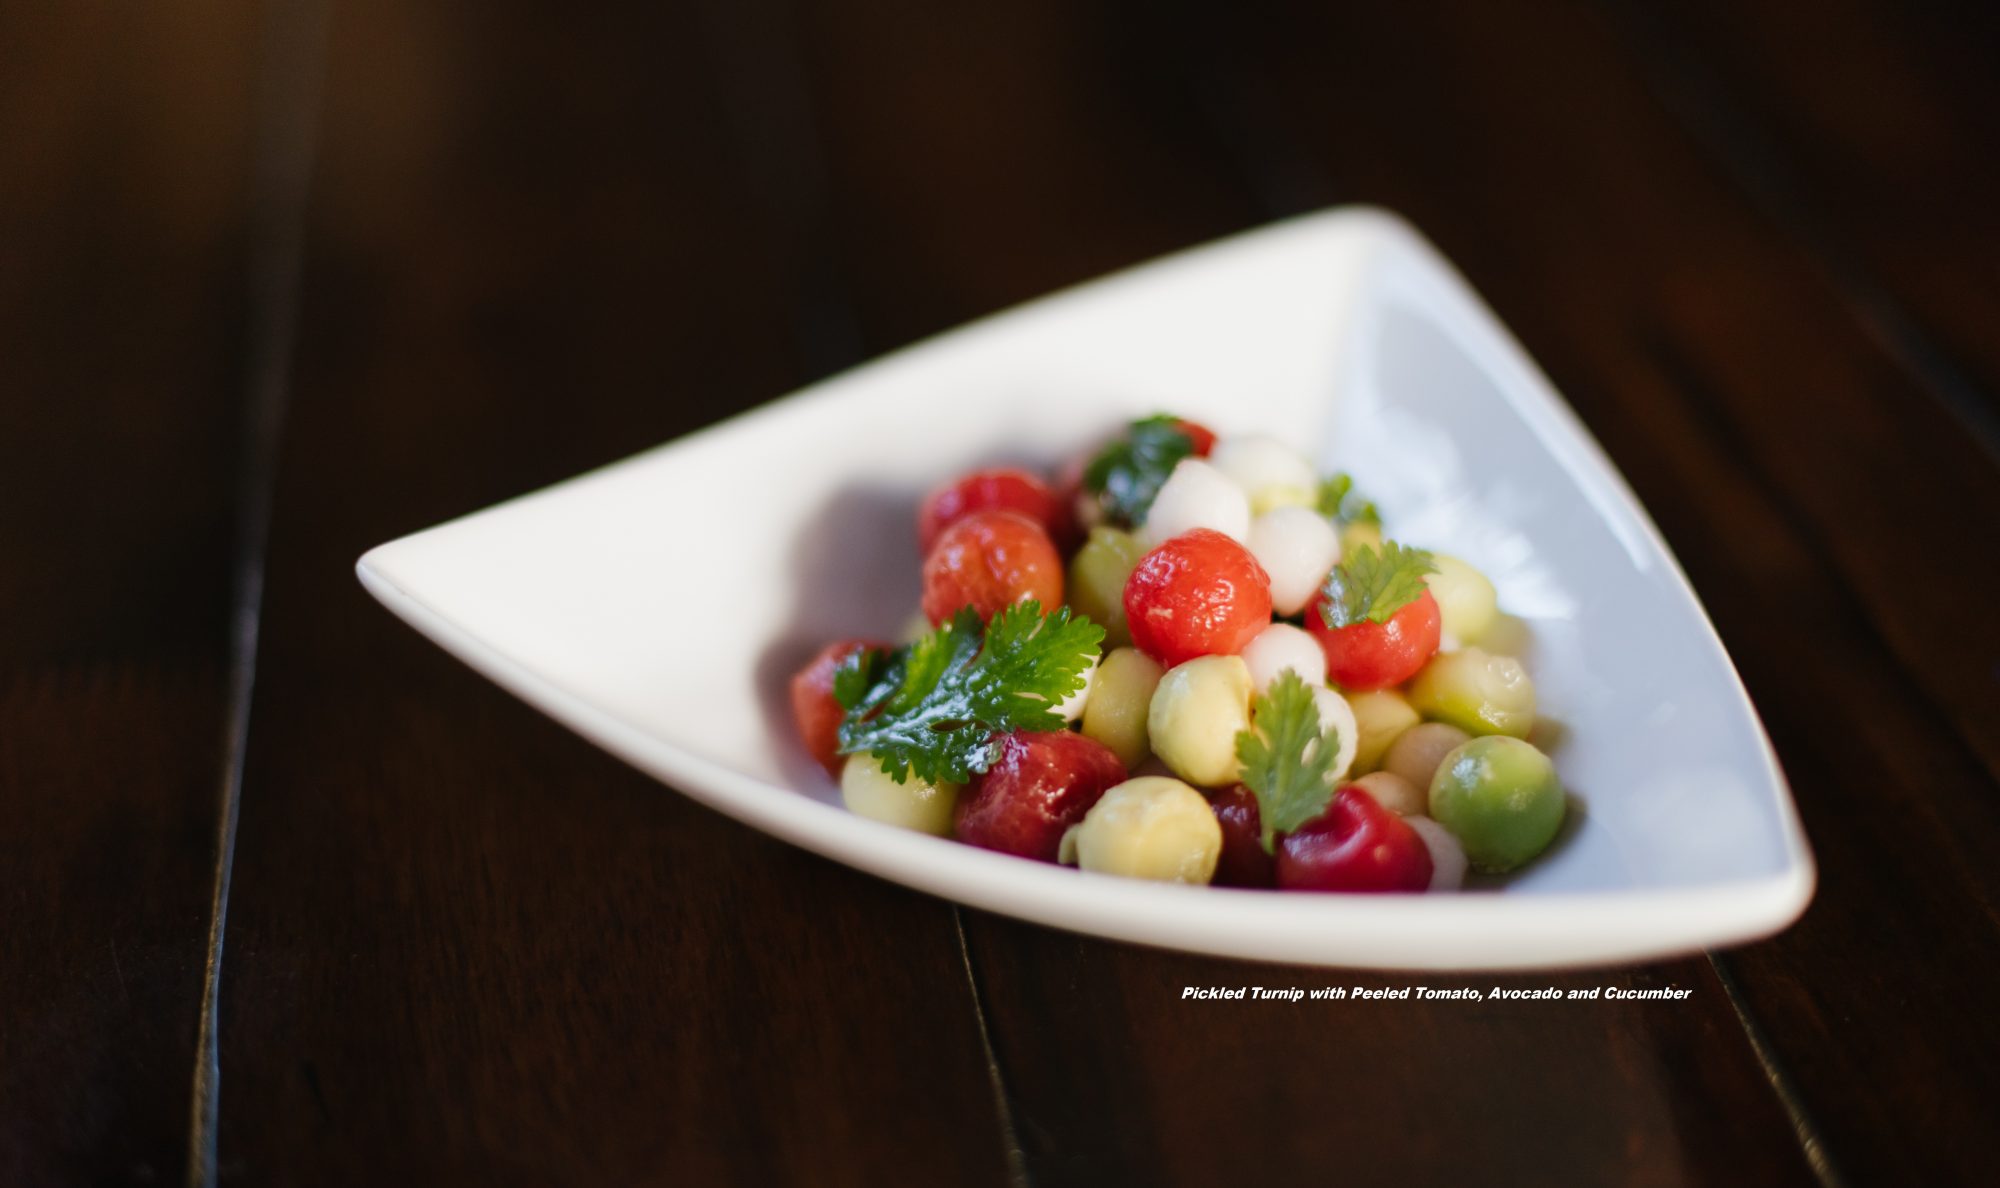
8. Cooked Tomato Products
Ketchup, tomato sauce, canned tomatoes, tomato paste or cheap salsa. Keep it on hand for making fresh tomato sauce or as an additive for soups, and braises. Crock pot cookery is braising, so feel free to dump a can of tomatoes in when you turn that sucker on. Tomatoes provide great acid, sweetness and savory earthiness.
9. Wine and Spirits
Gotta have some wine on hand. Use it to deglaze, start a sauce, start a soup, use it to poach with, or braise. Turn on a crock pot, add some wine, then throw in a seasoned chicken and a pinch of herbs…done. Other alcohols are great cooking fodder as well; dry sherry, marsala, rice wine, madiera, brandy, rum, tequila. What kind of wine do you buy to cook with? (read this)
10. Broth
Stock or broth, whatever the title, just make sure it’s of decent quality. Sure, you can make your own and store it in the freezer, but most people don’t do that. There are a few quality boxed versions and one or two good, bottled reductions. My favorite is a condensed version that comes in a small plastic tub (about 1/4 cup). It has gelatin for thickening power and tends to be lower in salt then boxed varieties.
As far as boxed versions, I feel Whole Foods gets the chicken dinner. Their versions are clean, organic and inexpensive. If you don’t have access to a Whole Foods, then Swanson’s Organic works well too.


