Fun with amino acids is about having fun with glutamate.
Why is this kind of dish so unctuously good?
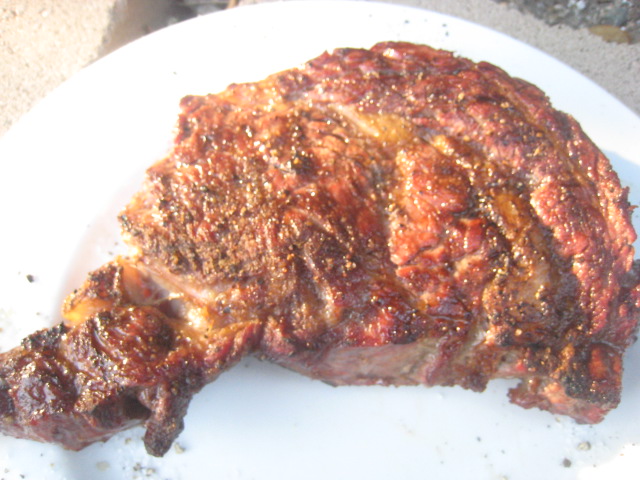
Grilled Skirt Steak with
Shitake Fries and Worcestershire Aioli
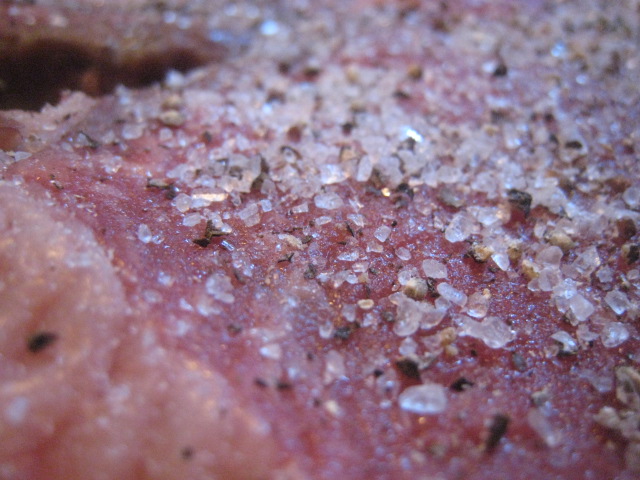
1 skirt steak
kosher salt
fresh pepper
Heat a grill on high heat until hot. Season steak liberally and grill on high until browned and caramelized on both sides, about 7 minutes…don’t worry about cooking it all the way through, skirt stays moist.
Fries:
fresh shitake mushrooms, sliced or shaved
1c rice flour, cold
1c or more club soda or beer, ice cold
fry oil
Heat fry oil to 360 degrees (when you start to fry it will drop to 350 which is the real temp to maintain. Whisk together the rice flour and soda water until a batter is formed…like a crepe batter. Season the batter with salt and pepper, dip in the mushroom slices and pop into the hot fryer. Fry for a minute or two, it won’t need to get browned, just crispy. Remove from the fryer to a cooling rack and season with a little more salt.
Aioli:
1 egg yolk
2Tworcestershire
1T malt or red wine vinegar
1T Dijon Mustard
1/2 clove garlic
1/2T minced shallot (optional)
1/8tsp dried thymes or 1/2tsp chopped fresh (optional)
1c grapeseed or canola oil, or peanut
salt and pepper to taste
Using a food processor, blend the first 7 ingredients. Then, with the machine running, slowly drizzle in the oil until combined and thick. Season to taste with a pinch of salt and pepper.
Wrapping our tongue up with earthy, savory flavors like, mushrooms, beef and Worcestershire is primal. These are tastes that for most people, are undeniably good.
But why are they undeniably good?
I am not a scientist, nor a scholar; just curious about the relationship between the foods we eat and their effects on our mind and body. Here are a few facts…a few fun facts, and a bunch of laymen theorizing that will hopefully run out of gas at its proper destination.
Glutamic acid or L-Glutamine…heard of ’em? Probably somewhere, it’s widely used in the medical, dietary and scientific industries. It also happens to be amino acid numero uno, making up 60% of our skeletal muscle structure and plays a primary role in balancing our brain chemistry.
Which is which?
L-Glutamine is the absorbable form of glutamic acid; an amino acid, that in congruence with GABA (gamma-aminobutyric acid), balances our brain function. These two aminos are neurotransmitters; they act like yin and yang in our brains with glutamic acid being the stimulator and GABA being the suppressor. These are the most vital/abundant NT’s in your brain. They control basic motor function, cognition, keeping your heart pumping, and lungs inflating, etc.
Both are important and both are necessary, however; I’ll be focusing more on the stimulating effects of glutamine, what it’s in, and how it’s a part of our lives…in ways you might not have realized.
Mono-Sodium Glutamate, or, MSG or hydrolyzed vegetable protein; is a refined version of Kombu seaweed salt. It tastes absolutely magical, but unfortunately, throws your insulin levels through the roof, along with your blood pressure and, is an excitotoxin (cell killer). Did I mention it’s crack like addictive quality (scratch, scratch scratch).
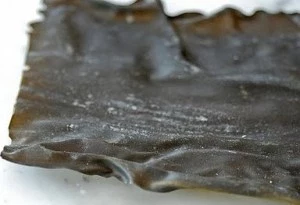
The ocean gives
Kombu has been around and used, for centuries. However, it wasn’t until the early 1900’s that a Japanese professor, refined it and processed it to sell to the public as a miracle food additive…which it is (scratch, scratch, scratch).
The only thing L-glutamine and MSG seem to have in common is they are both forms of glutamate. Which means they both trigger glutamate receptors on our tongue telling us that something in our mouth is savory and delicious…enter Umami. The name given to the 5th known taste sensor on our tongue, and the only taste sense to have it’s own brain receptor. Having it’s own brain receptor means we are absolutely hard wired to crave and enjoy this protein. It is also one of the only amino acids capable of crossing the blood-brain barrier. These two bits of info are huge as there are very few things on the planet that our brain is hard wired for and can pass through the blood-brain barrier.
Trained since birth to crave glutamate, it’ the most abundant amino acid in breast milk at 0.02%; which means a baby could easily be getting .15g a day. That might not seem like alot, but adults (on avg), eat around .5g -1 g of glutamate per day; which means newborns eat like they’re already 25lb. Please don’t question the math, the bullet point of this presentation is that breast milk has high levels of glutamine. Those glutamine levels will also be key in a babies ability to efficiently hydrate…which I’ll discuss in part 2. Still with me?
Let’s widdle this down
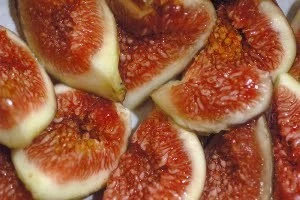
Because we’re wired for glutamate it makes sense that finding ways to use it in our food is a good way to naturally bump up flavor and add richness that wasn’t there before. Familiar foods naturally rich in glutamate include, soy sauce and other soy products, black and white truffles, parmesan cheese, tomatoes, mushrooms, yeast, legumes, hemp seeds, chia seeds, raw cabbage, beets, and most animal based proteins. I bump up flavor in lots of dishes with Worcestershire sauce, Braggg’s Liquid Aminos, Thai fish sauce and truffle oil. A bone in pot roast or braised short ribs is another great example. The flavor the bones give to the sauce is all glutamate richness…and fat—gigitty. Dried mushrooms are another great, natural, easily found umami punch.
Now that we have a small overview of what glutamate does, you might have realized that I haven’t made any profound points…turn tape over to side B, or read Part Deux.


