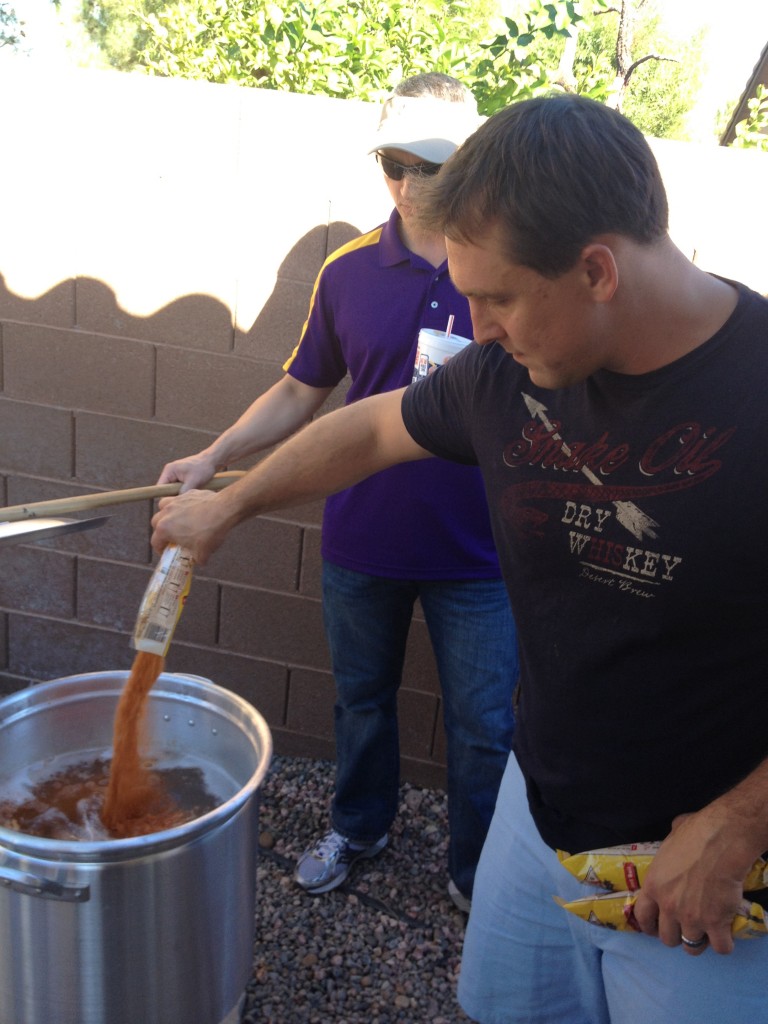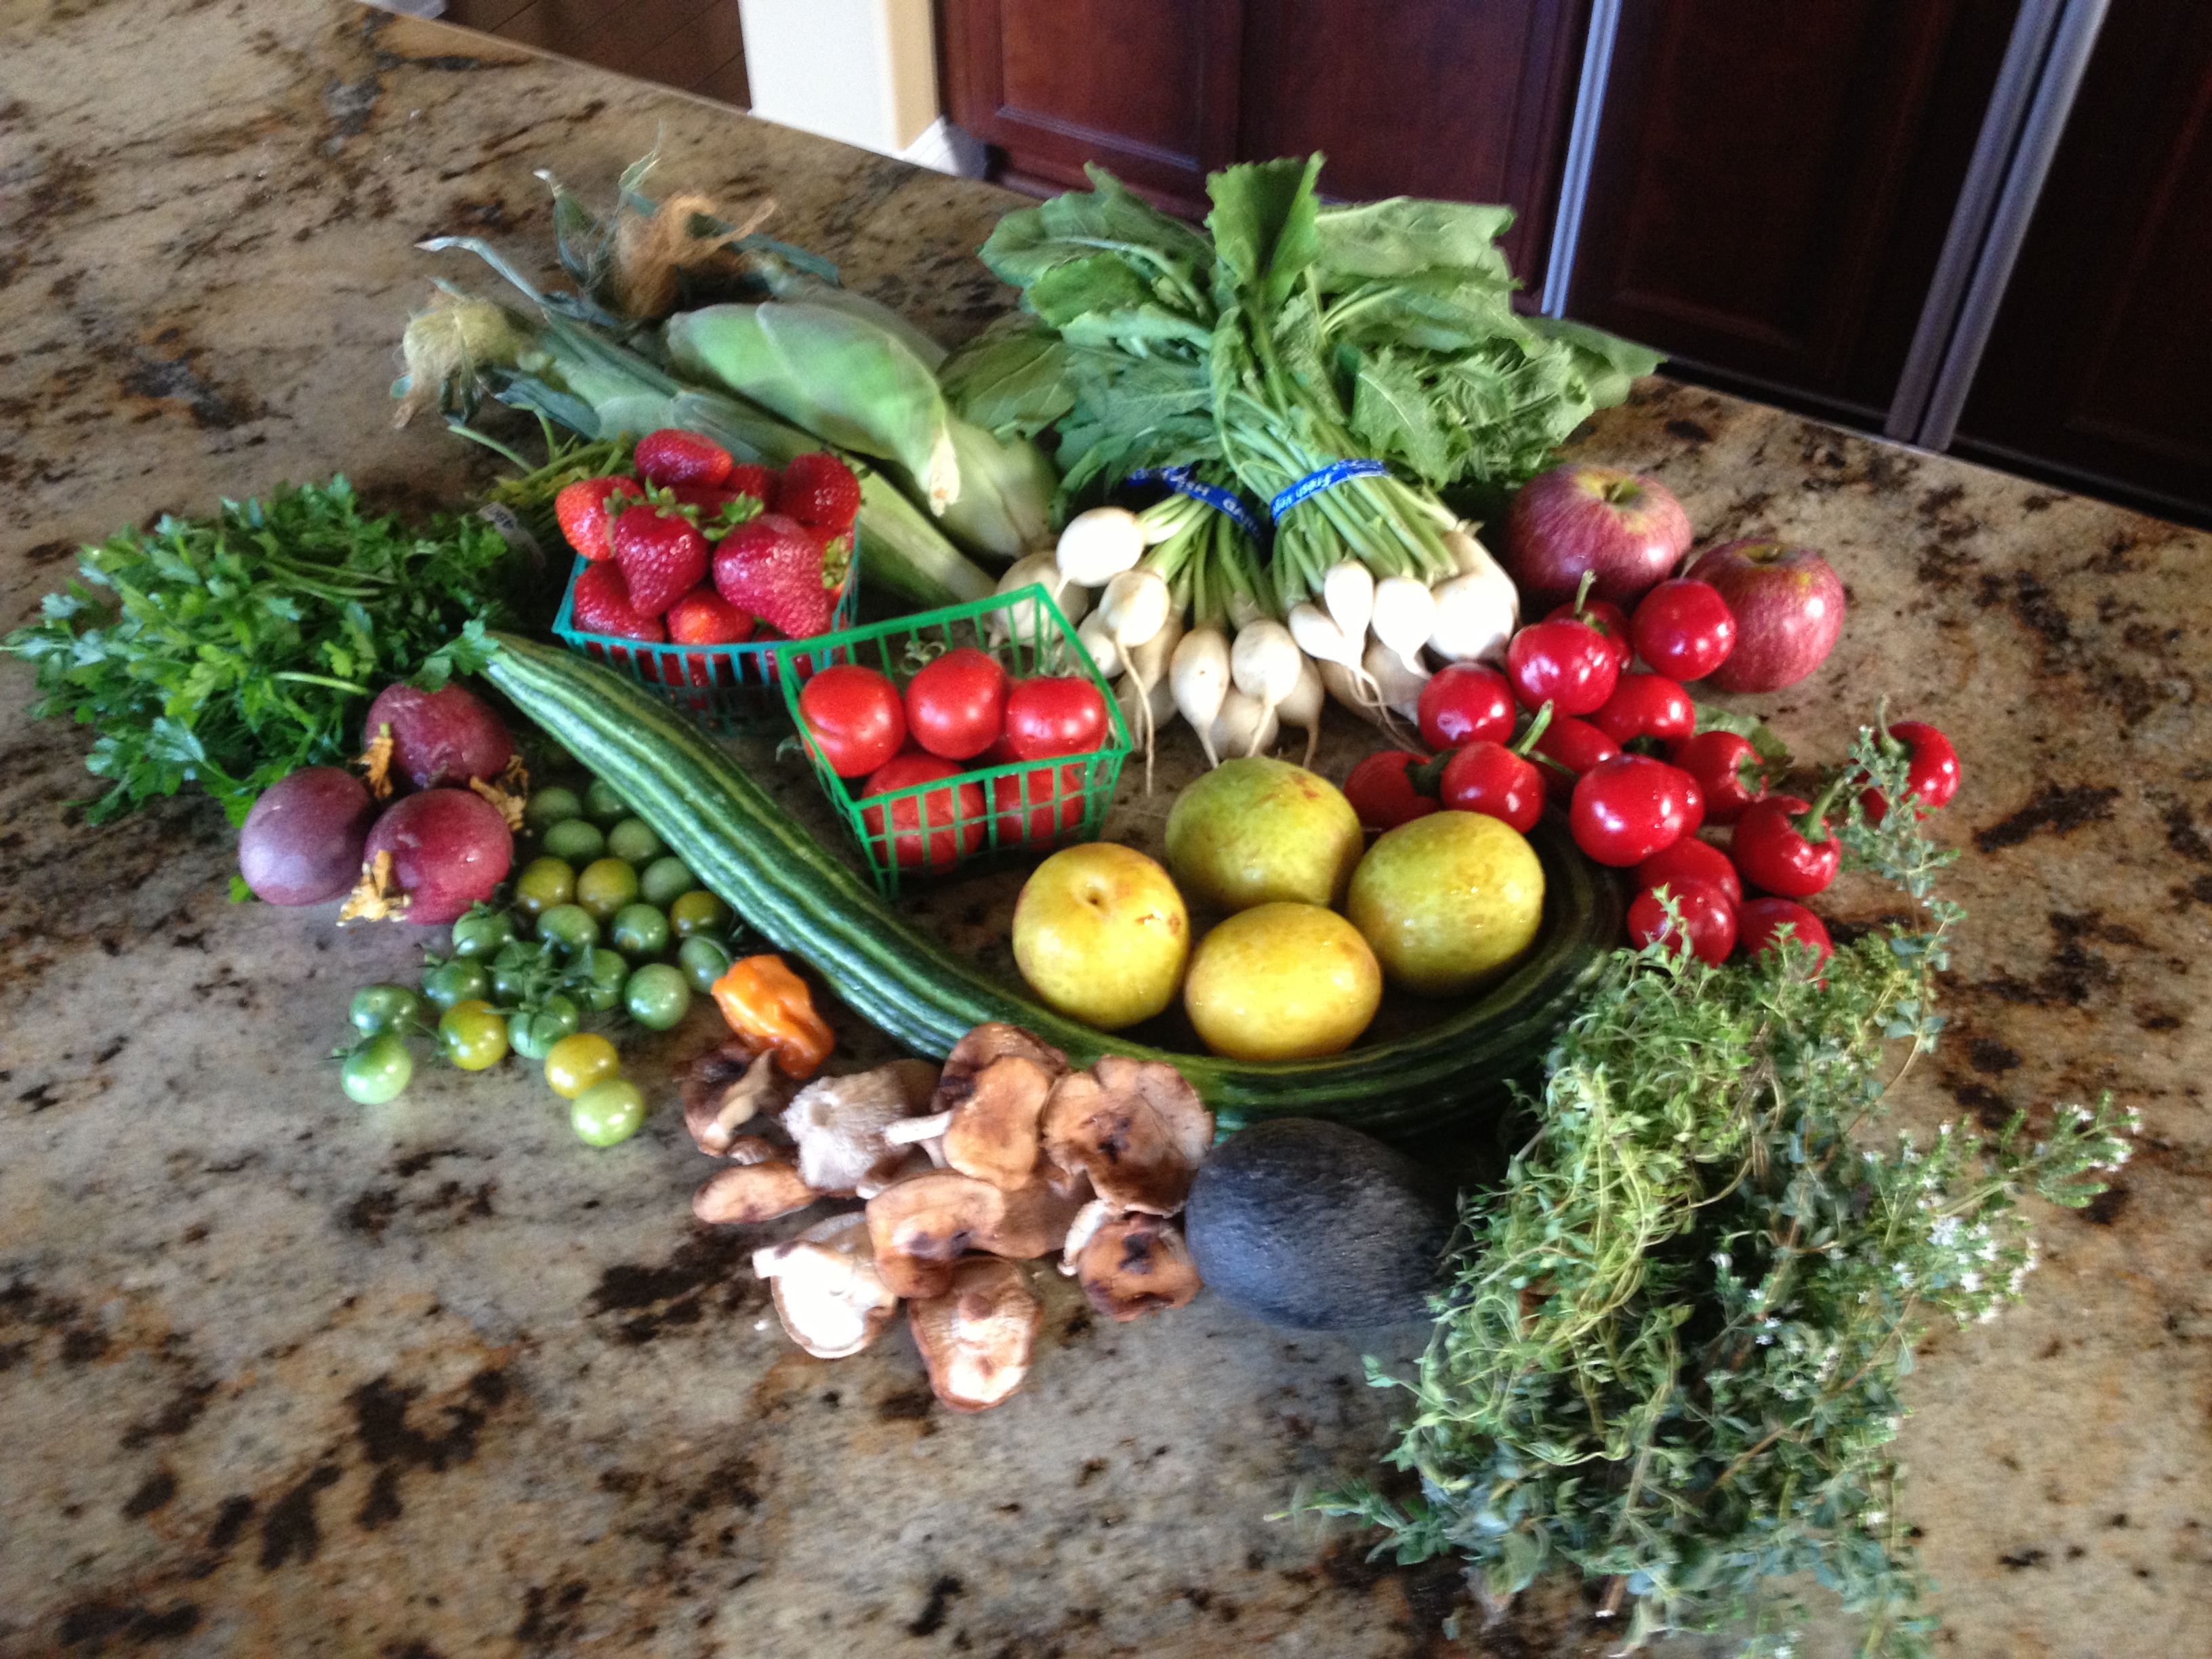
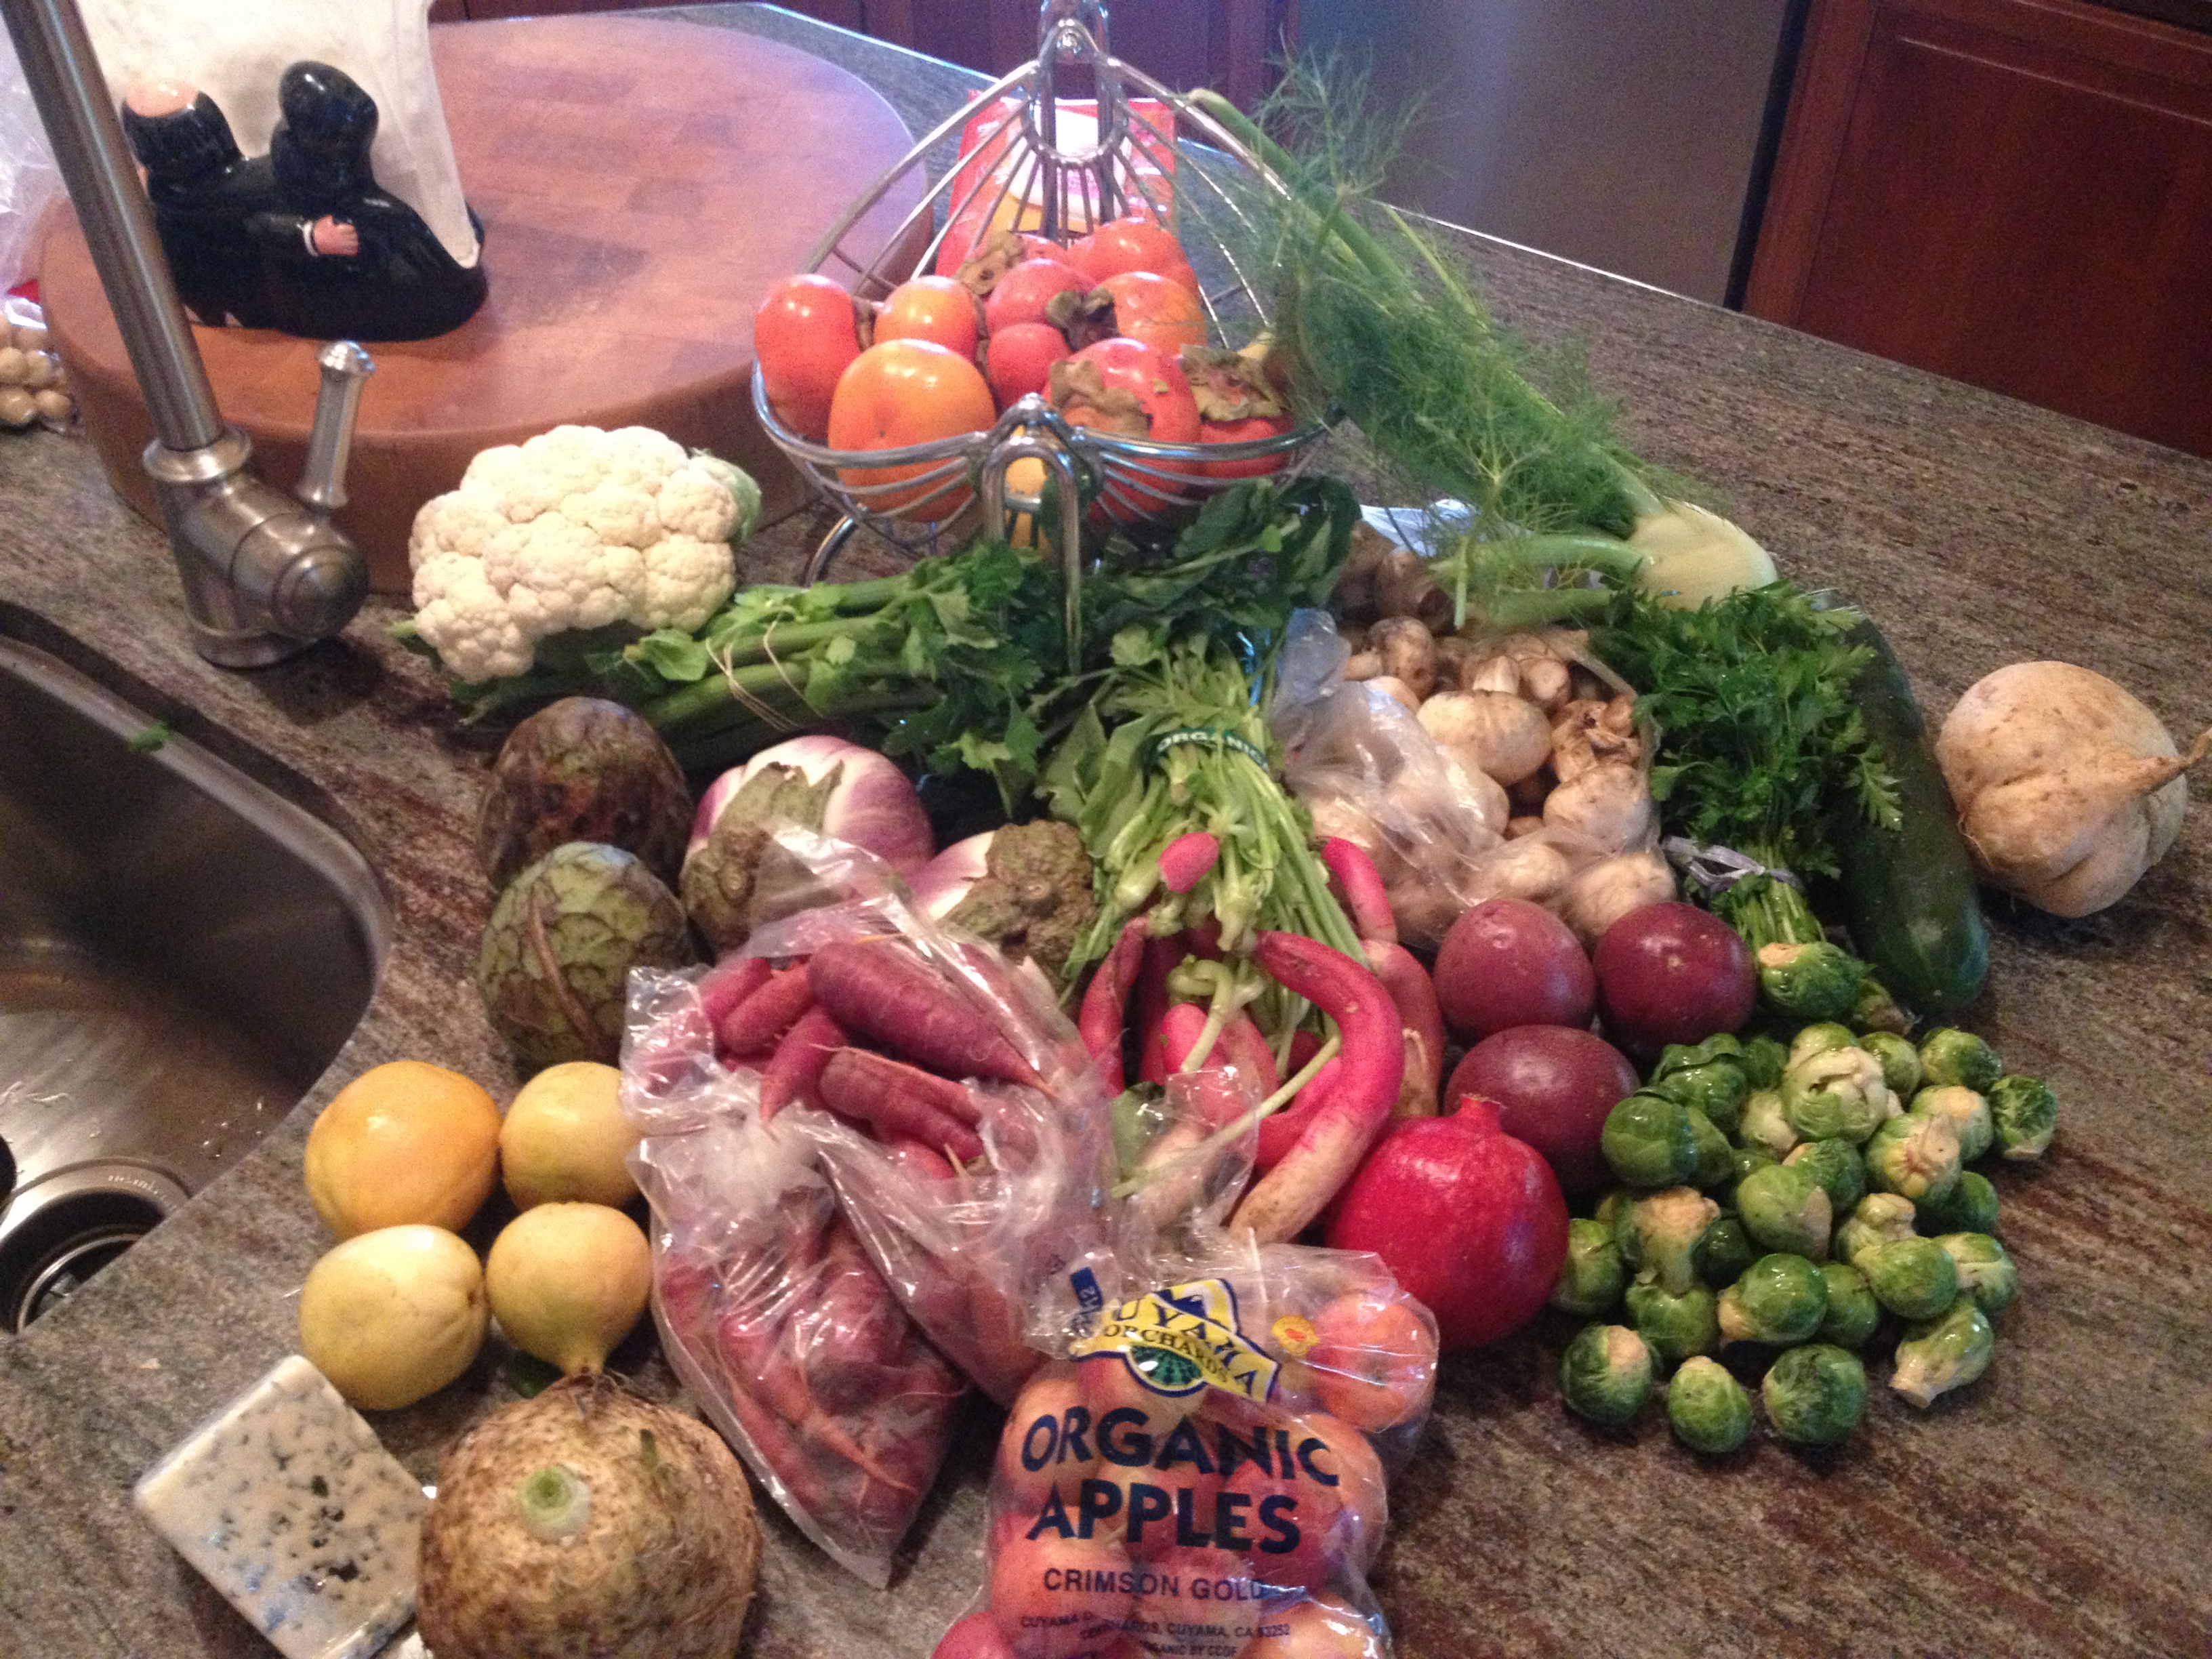
Go to almost any farmers market and you’ll see something new and mysterious. For my dinner parties, I count on it.
Usually the vendor is the grower, or close to it, which is nice for any questions you might have. Asking questions is for me, part of the fun. Even if you get a bullshit answer, you still have a cool product in hand with enough info to find the correct answers. They won’t deceive you about how it’s grown because It’s standard protocol for market organizers to visit the farms; ensuring responsible farming practices. Just take cash and be adventurous with at least one thing. Don’t worry about the nagging feeling in your head, that’s just your brain growing.
Building Community
I usually drag the fam with me when I go; they love it and it feels good to support the community. Not that it’s charity work or anything; I just want my community to support local food, I want the idea of buying local as the standard, not the exception.
Once there, I blow through and gather my produce for that night, then we all sit for a bite of artisan something. Last time it was Papusa’s and empanadas. Recently the Rancho location was rained out so we shuffled on over to the City Heights Market. It was small, but as per usual, size doesn’t always matter. The smaller ones always have at least one vendor with something tweaky and rad.
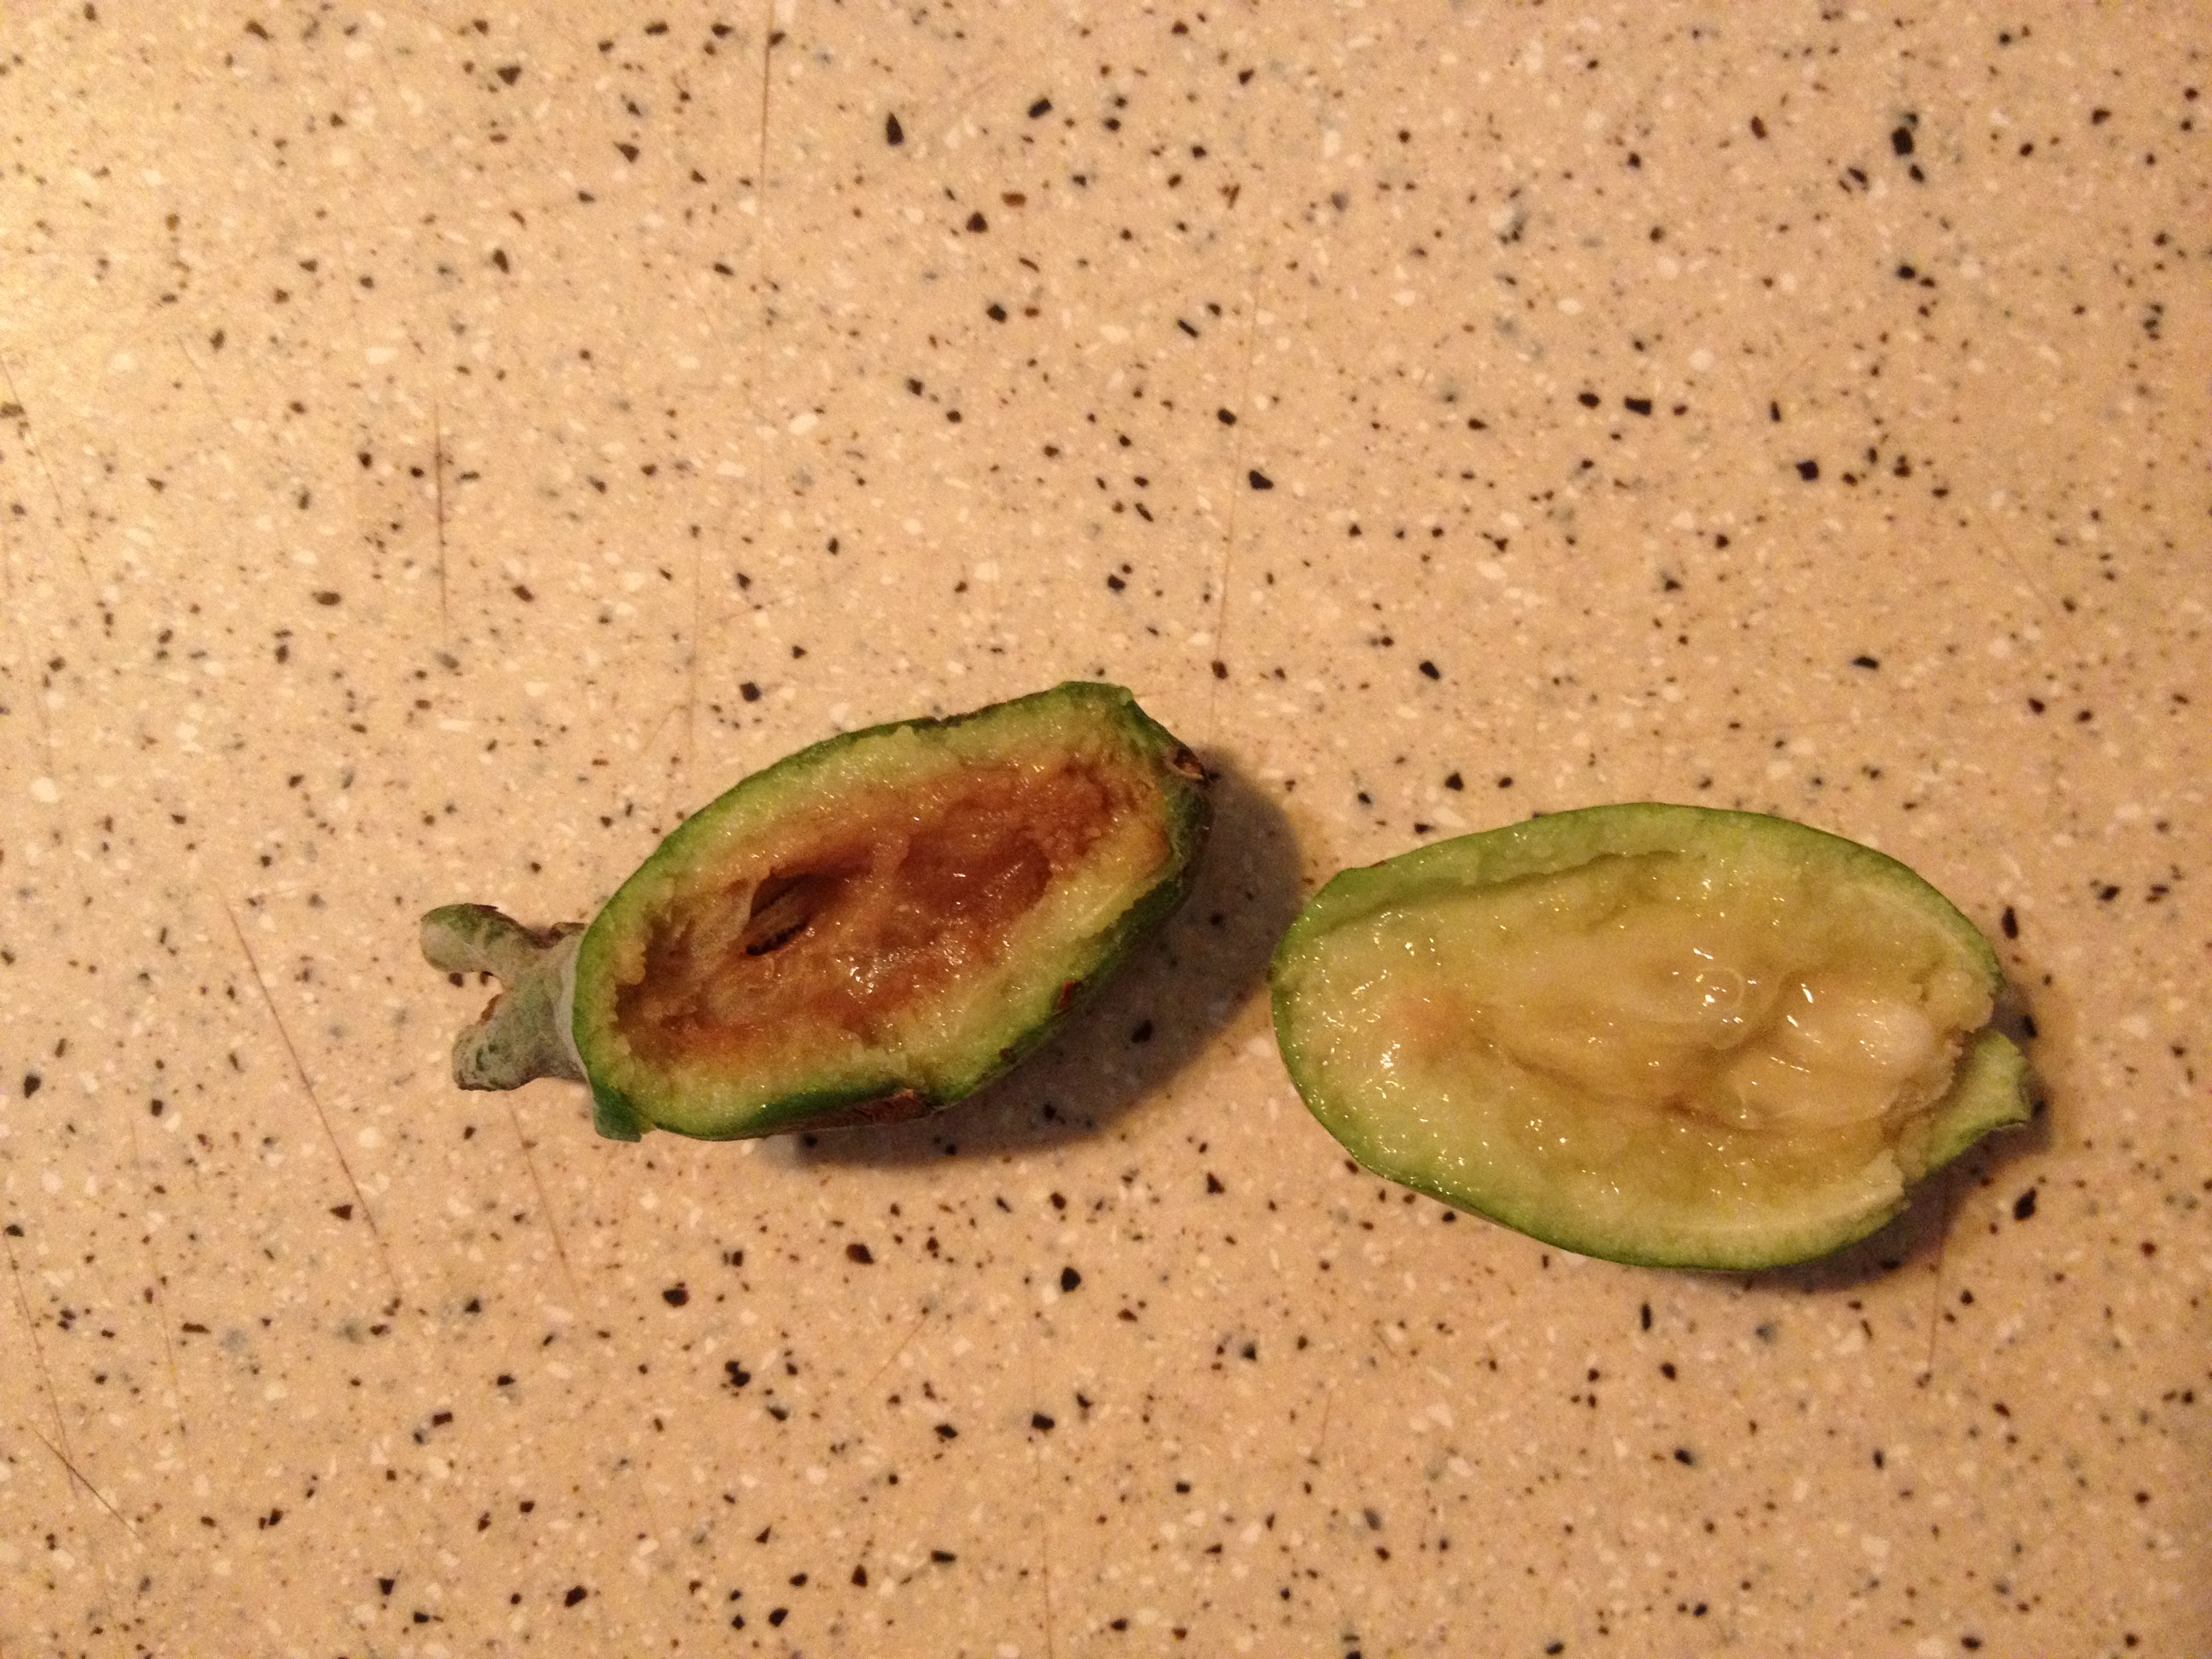
Feijoa
Like these lil’ dudes…known as Feijoa’s or Pineapple guava, or Guavasteen. The lady told me they were called, Italian Guavas? Whatever lady…I shall still purchase your tasty, exotic fruit.
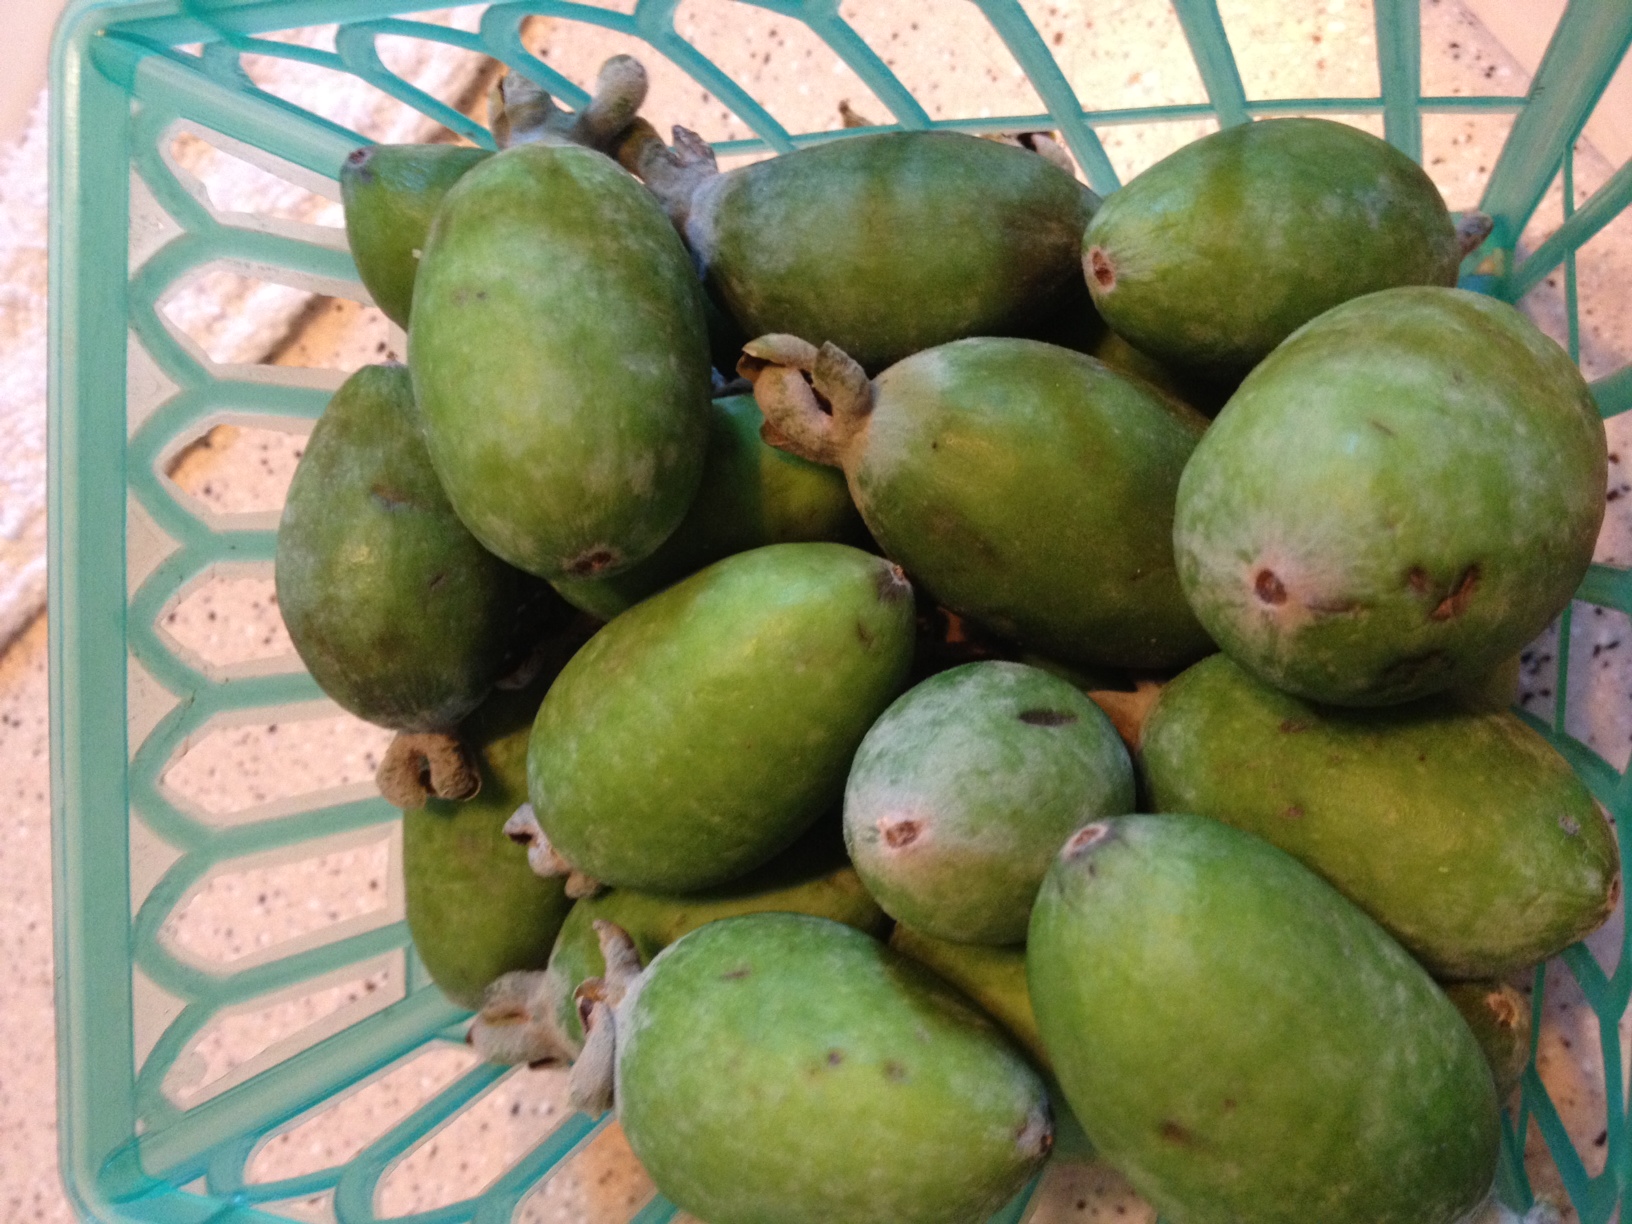
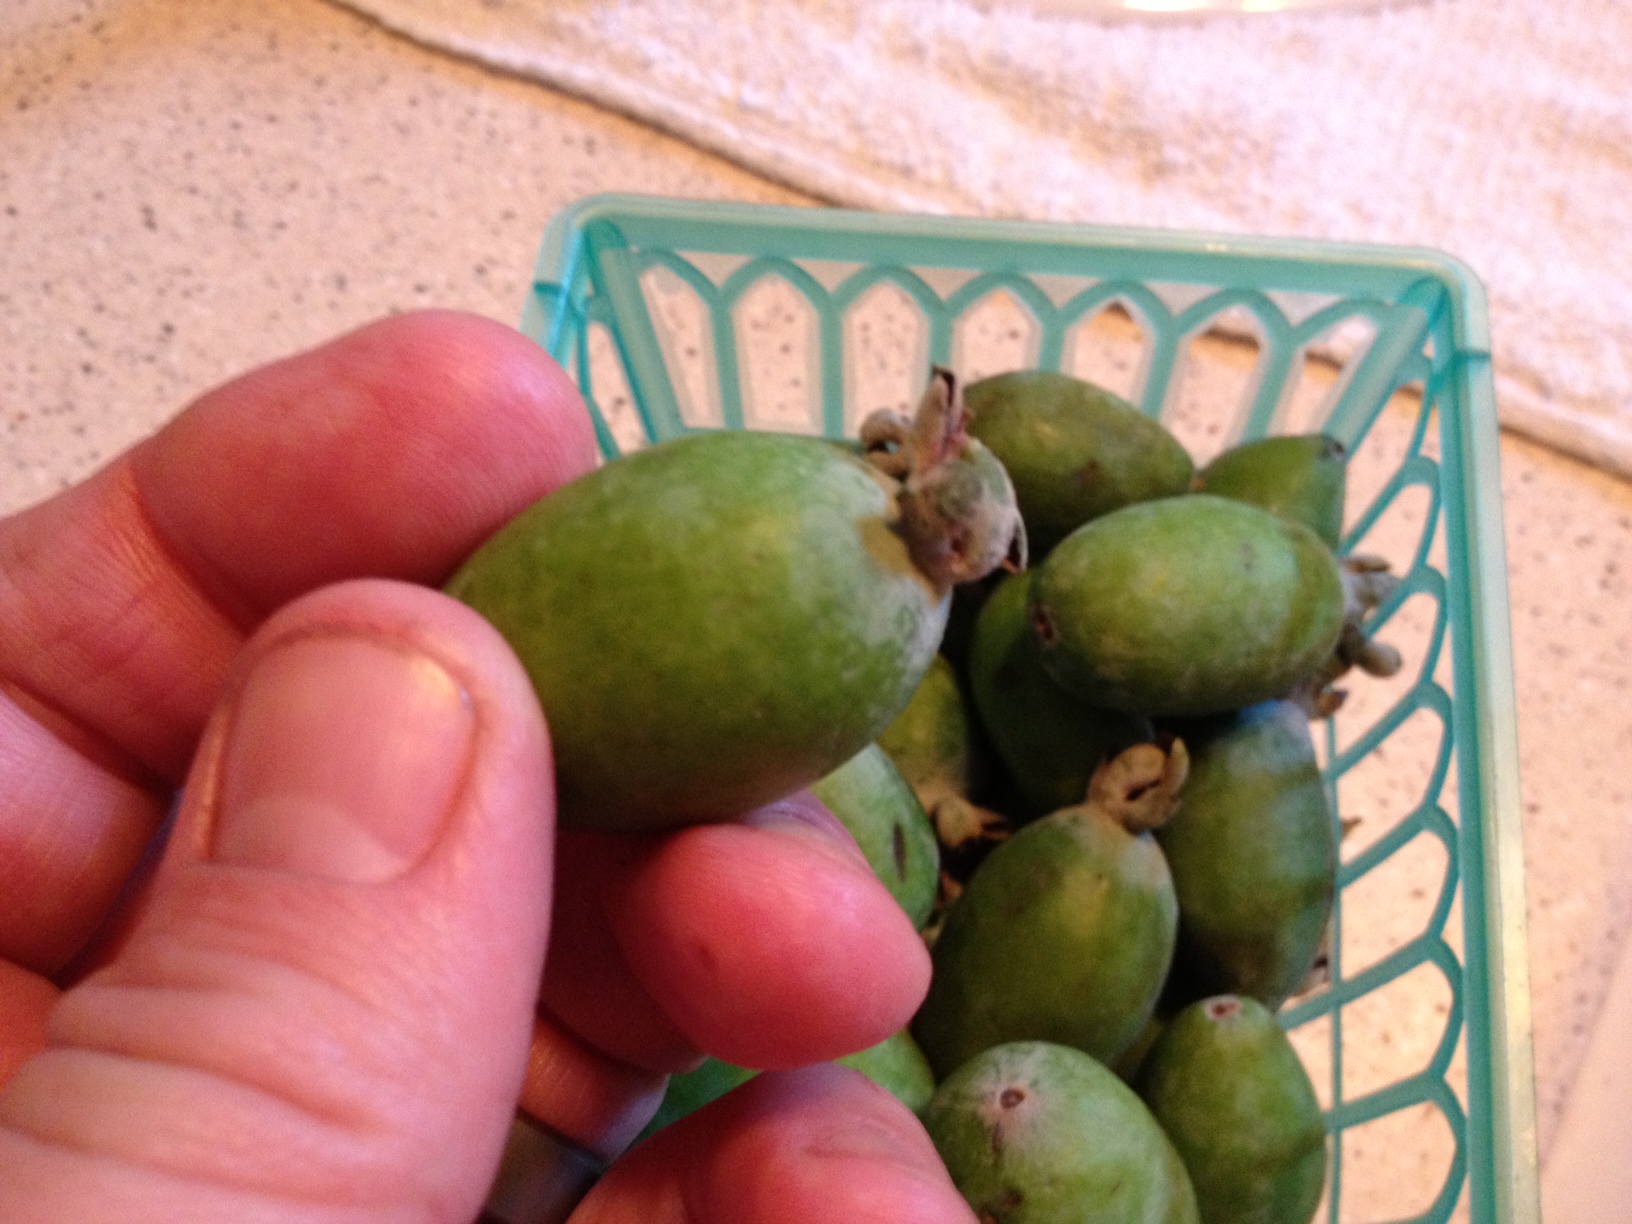
As feijoa’s go, these were tiny and overripe. A good pruning of this evergreen bush would yield fruit the size and shape of a small avocado. The taste is wonderfully sweet with pear, strawberry, banana and guava. Usually only the clear gelatinous center is used, but the whole thing is edible. Just a bit tart and bitter as you hit the flesh and skin. Quite addicting really, as you don’t eat the whole thing you can’t help but keep mowing them down. Their a little tricky to tell when they are ripe or overripe as the outer skin doesn’t change color. They’re overripe when they have a browning center, not clear/opaque.