Spring Dinner

Spring is beautiful.  I realize this is not a new or brilliant observation, but I still had to state it.

Every turn of the season is exciting for chefs.  Enjoying food as the seasons guide you is a satisfying feeling and a healthy way to eat.  Comfortingly, it limits your options in a very natural way.  Recently we had family over for a spring dinner.  One of those nights where everything comes together. That always perfect combination of great food and great company. With a setting that doesn’t distract from either.

The Menu

All the veggies were obtained at the Rancho San Diego Farmers Market.

Radishes/Truffle butter/Brunoise pear/Himalayan salt/Chives

Delicious lobster bisque

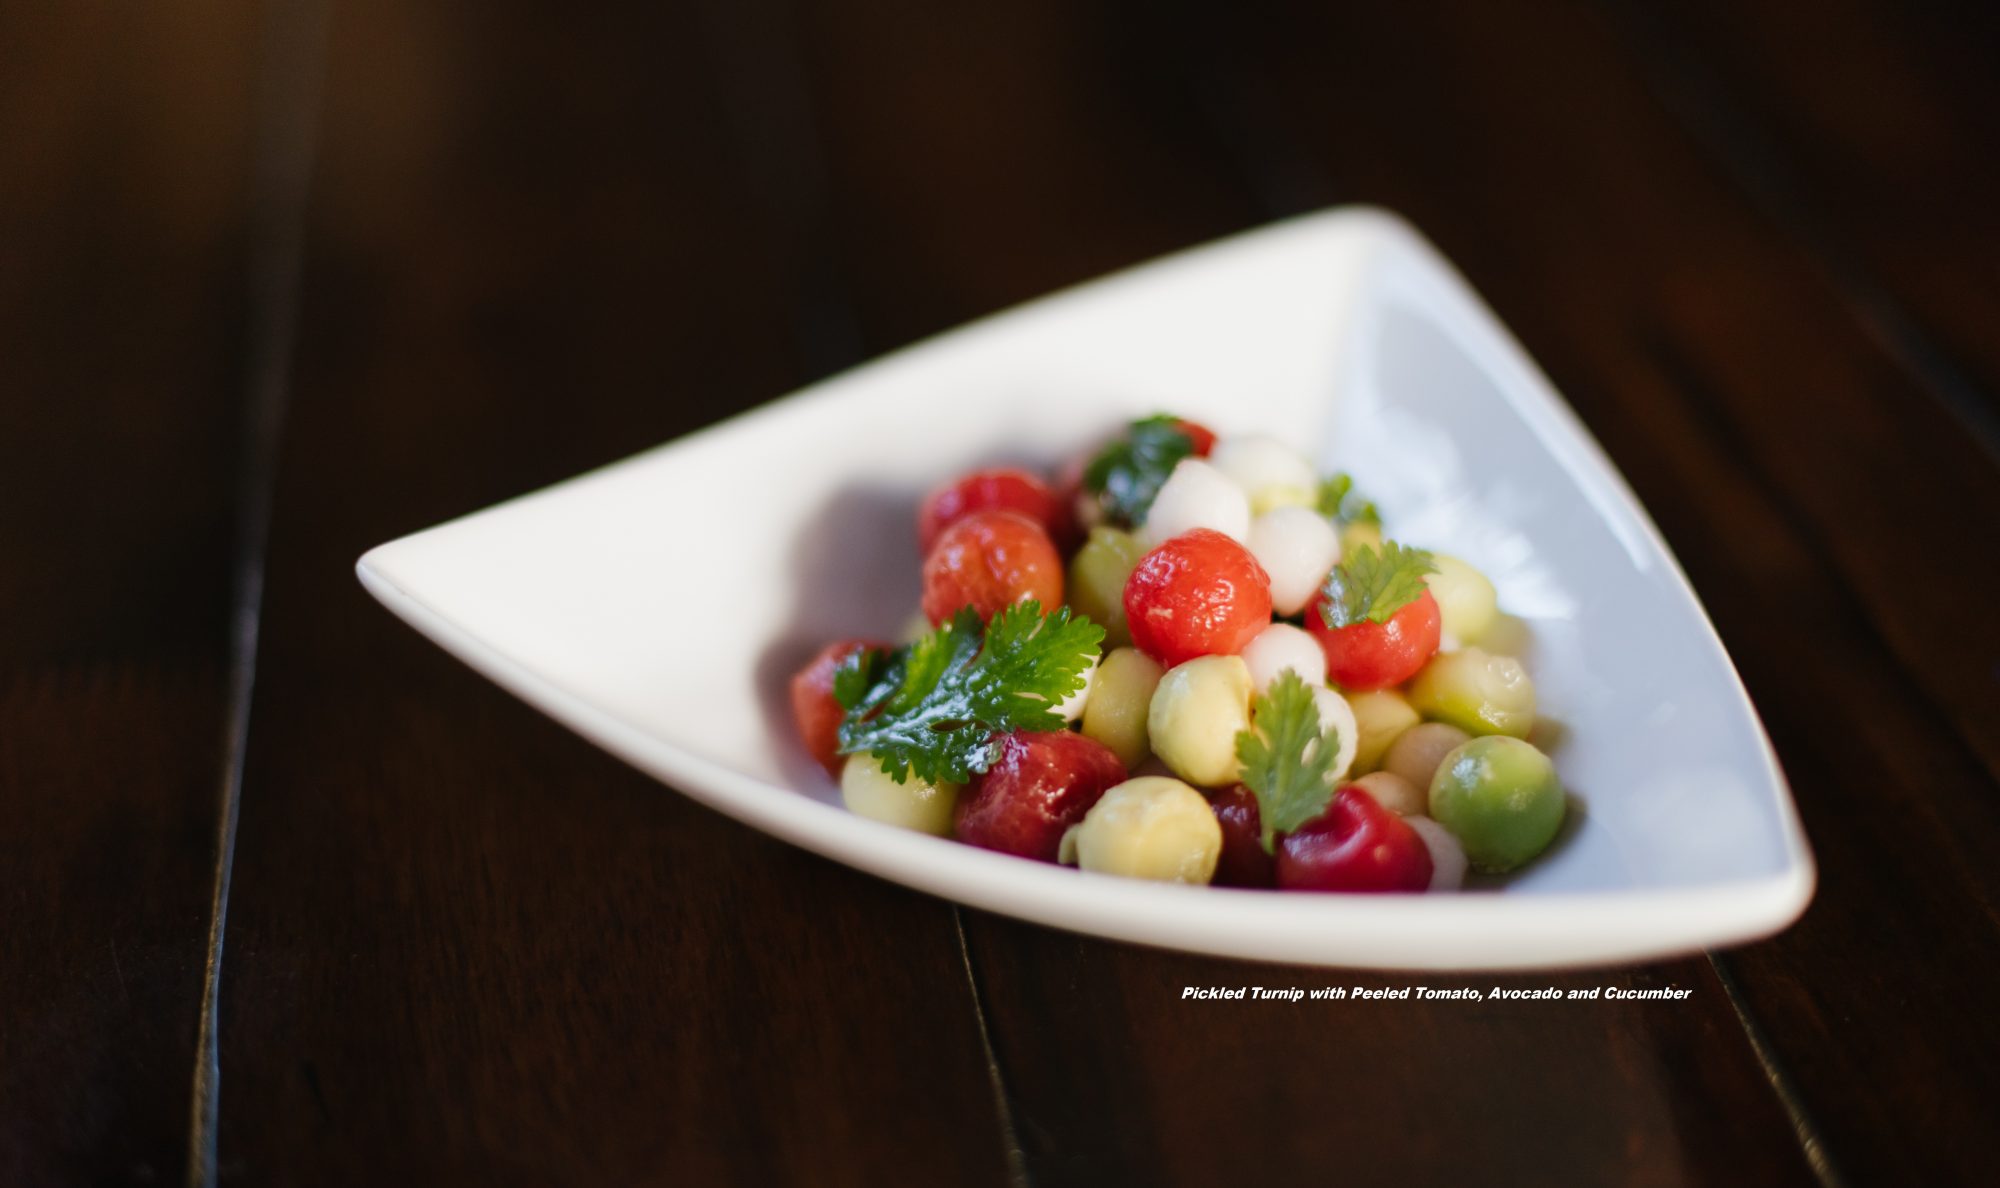
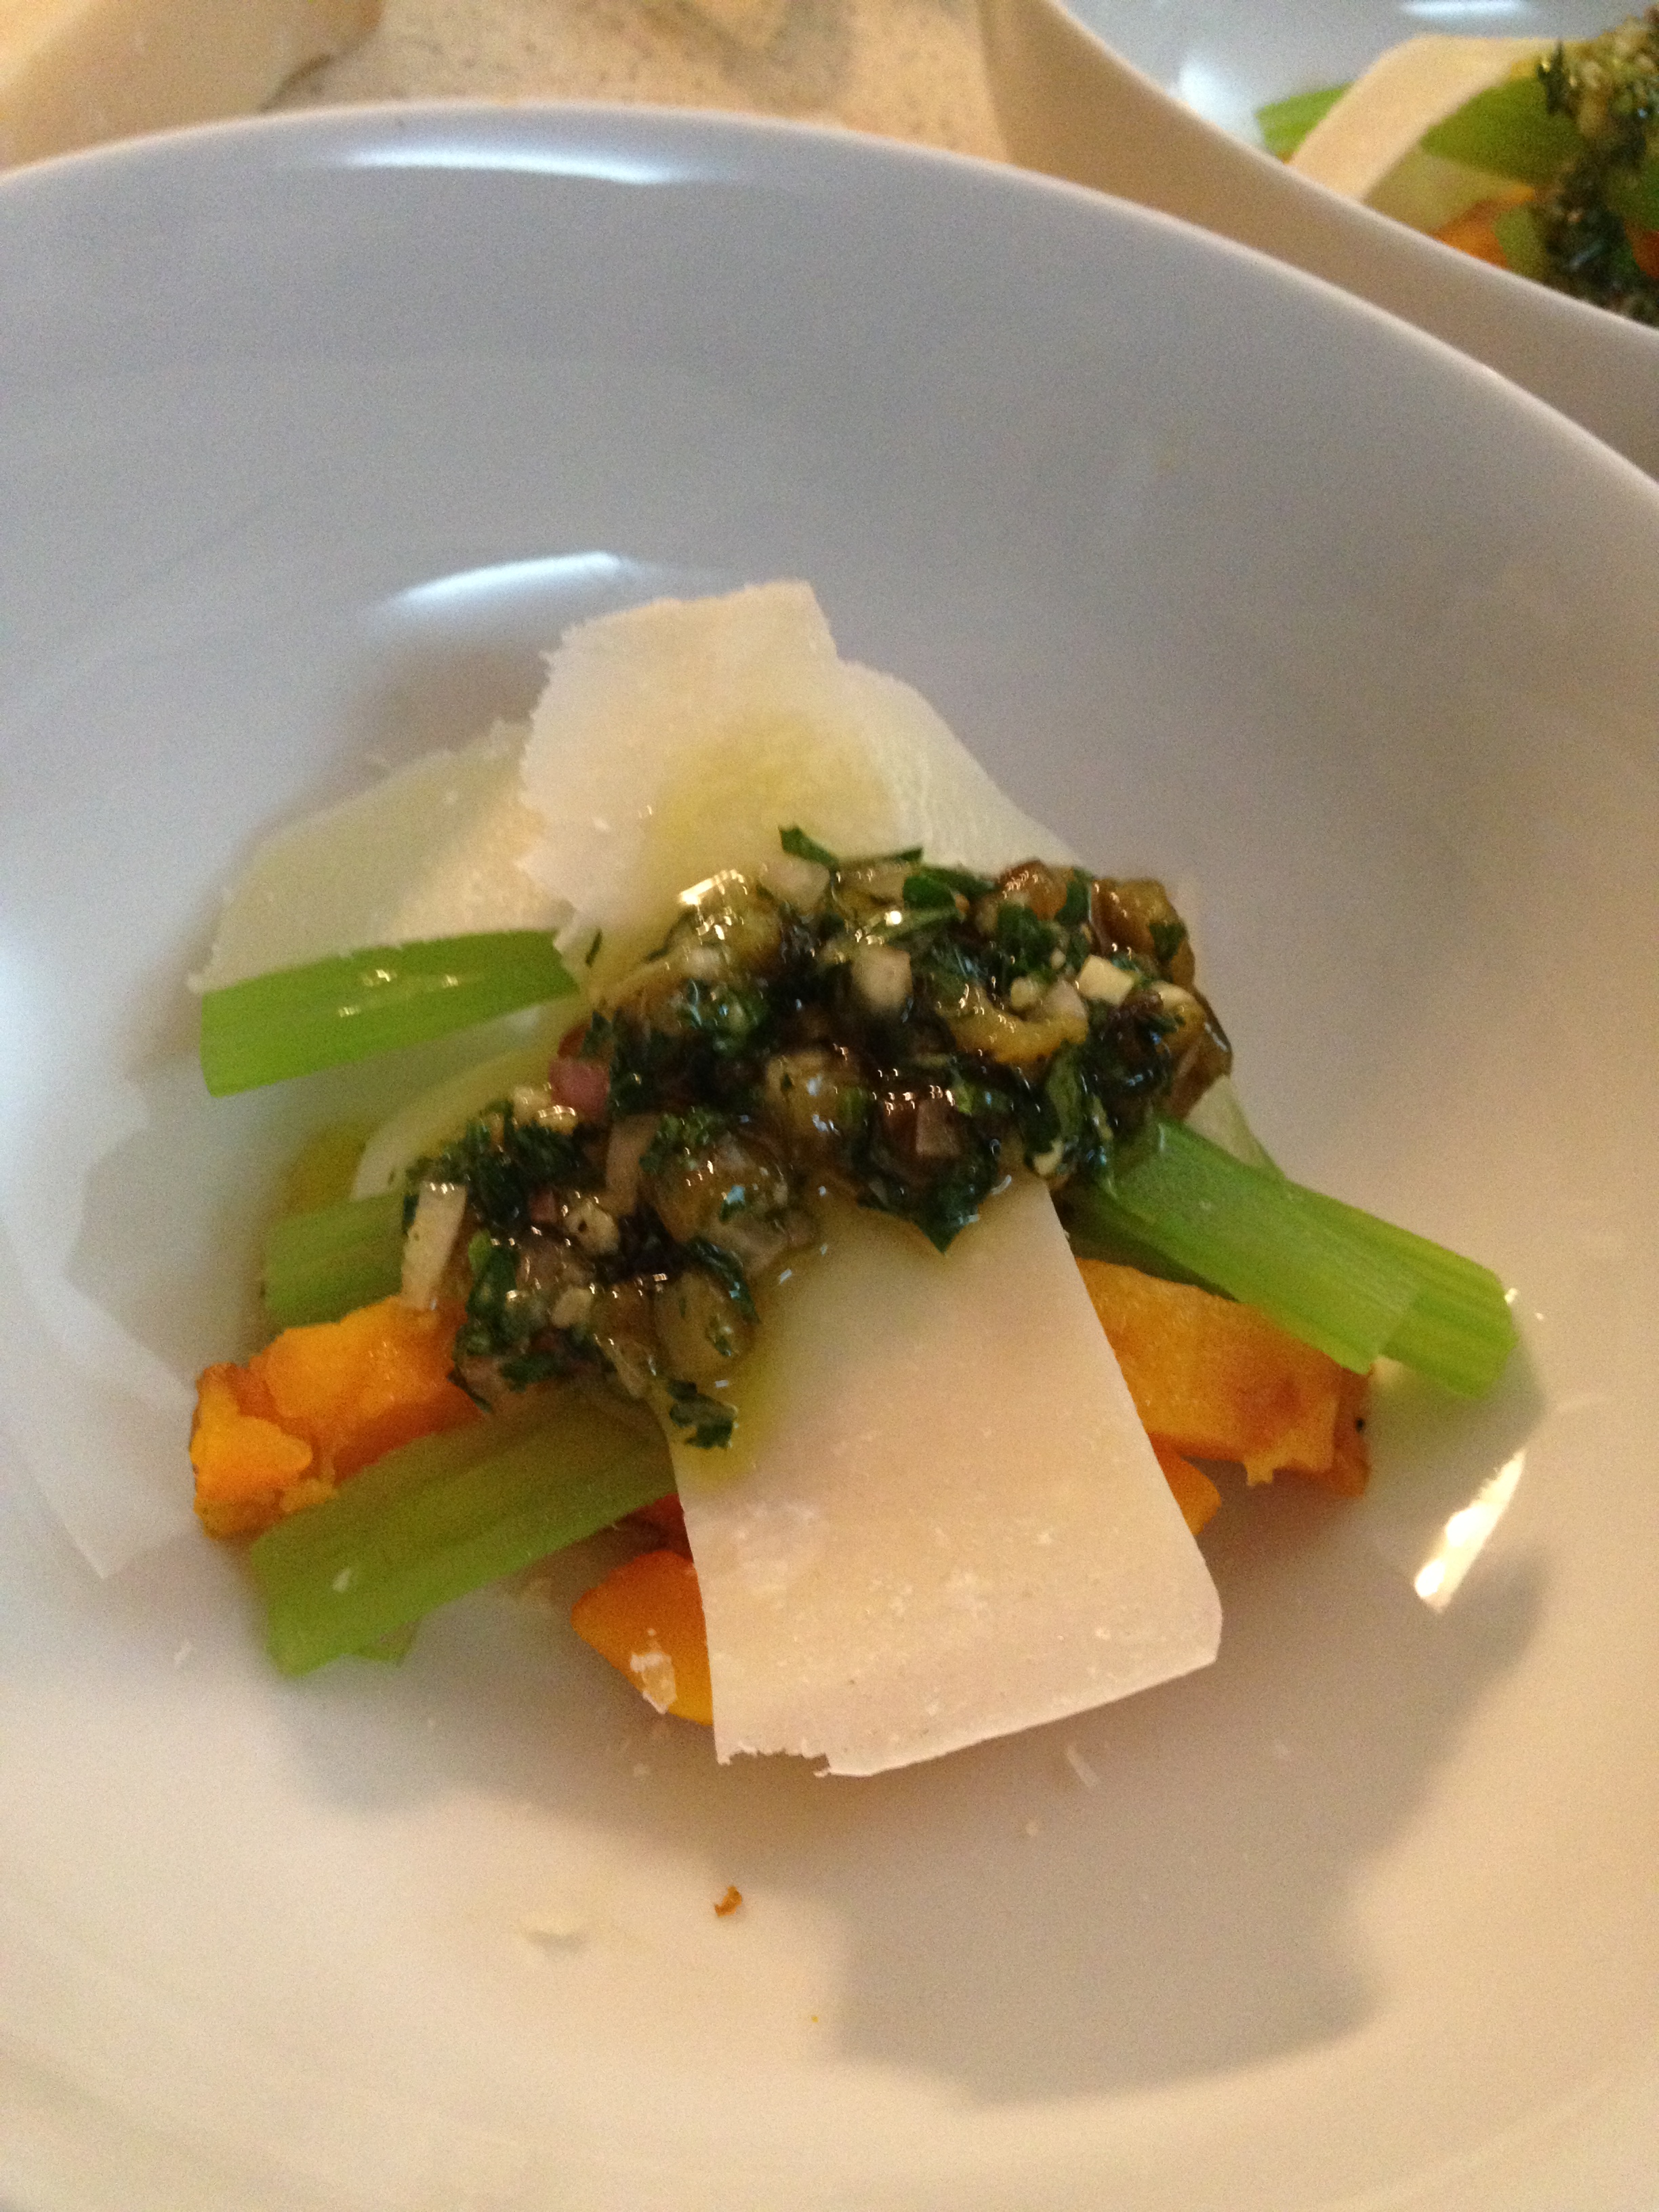
Salad- Baby turnips/Grilled butternut squash/Peeled and blanched celery/Shaved parmesan/Gremolata-chimichurri

Roasted lamb shoulder with lamb gravy/Spaetzle and herbs/Chile garlic broccolini

Homemade caramel vanilla ice cream/Melt in your mouth apples/Raw Honey Crisp apple

IMG_0702

Kid Project

Cake pops are one of those hilarious food moments that makes people awesome.  

Because you KNOW, these were invented after a cake baking disaster.  That “Oh shit” moment in the kitchen.  We’ve all had it, no need to be ashamed.  We’ve all burned a grilled cheese before.  But holding it together enough to triumph over adversity and present something rad from disaster?  Well that’s a beautiful moment right there.  These cake pops are great fun with the kiddos and sure to provide that perfect little sugar rush that turns angels to demons…have fun!!!

IMG_0885[1]

Recently I did a kids cooking class with this recipe.  The kids all had a great time and the recipe is a snap.

Cake Pops

Chocolate Cake, prepared (I used ½ of a 9×13 devils food box cake)
Chocolate Frosting (amount depends on moistness of cake. I used two big spoonfuls.)
2 boxes Premium white chocolate ( I used Baker’s brand)
cake pop sticks
sprinkles

1. Add already cooked and cooled cake to a large bowl.
2. Crumble until it resembles fine crumbs.
3. Add in frosting a little bit at a time until cake is moist and can hold a ball shape, yet still slightly crumbly.
4. Use your hands to incorporate the frosting into the cake crumbs.
5. Use a mini ice cream scoop and scoop out two balls of cake mixture.
6. Roll the mixture into a tight ball and place on a plate.
7. Repeat until all the cake mixture has been rolled into balls.
8. Melt 2-4 ounces of white chocolate in the microwave.
9. Dip the tip of the cake pop sticks into the white chocolate and insert into the cake balls about half-way.
10. Freeze for about 20 minutes.
11. Meanwhile prepare all of your decorating supplies.
12. Melt the remaining chocolate in a large cup. Make sure you have enough chocolate to completely submerge the cake ball.
13. Remove cake balls from freezer.
14. Dip cake balls carefully into the chocolate until covered.
15. Let the excess chocolate drip off. Swirl and tap gently if needed.
16. Add the sprinkles while the chocolate is still wet. It will harden quickly.
17. Stick the decorated cake pop into a Styrofoam block to finish setting.
18. Place into the freezer to speed up setting time.
19. Cover with a clear treat bag & ribbon for gift giving, if desired.
20. Store in a single layer, in an airtight container.
Enjoy!

IMG_0887[1]